

Console Installation
This guide is for a self-hosted Console. Managed Console users receive a ready-to-use URL from Telovix Portal and can continue directly to Sensor deployment.
The self-hosted package is one executable. It contains the Console API, web interface, supported Sensor binaries, and local SBOM scanner. You launch it, open the first-run wizard, and provide the storage and account settings there.
Prerequisites
- Active self-hosted deployment in Telovix Portal
- 64-bit Linux host using
x86_64oraarch64 - PostgreSQL and ClickHouse endpoints reachable from the Console host
- Persistent local directory for Console identity, trust material, configuration, and bundled tools
- Stable hostname or IP reachable by browsers and Sensor nodes
- Port
15483/TCPavailable by default 8 vCPU,24 GiBRAM, and250 GiBfast persistent storage for a small all-in-one pilot
The all-in-one baseline covers the Console, PostgreSQL, ClickHouse, and their persistent data. Production capacity depends on fleet size, event volume, retention, and query concurrency. See Requirements for service-level sizing and production guidance.
1. Download and verify Console
- Sign in to Telovix Portal.
- Create or select a Self-hosted deployment.
- Open Downloads.
- Download the Linux binary matching the Console host architecture.
- Compare its SHA-256 checksum with the value shown in Portal.
Example:
sha256sum telovix-console-linux-amd642. Start the first-run Console
Create a persistent working directory and run the downloaded binary:
mkdir -p telovix-console
mv telovix-console-linux-amd64 telovix-console/
cd telovix-console
chmod +x telovix-console-linux-amd64
./telovix-console-linux-amd64
For ARM64, use telovix-console-linux-arm64.
The Console creates a telovix-data directory in the working directory and listens on port 15483. Keep both the binary and telovix-data on persistent storage. Moving or deleting the data directory after setup creates a different first-run instance instead of reopening the configured Console.
For production, run the same command through systemd or your organization’s service manager. Configure it to restart on failure and to use the same working directory on every start.
3. Register the Console ID
- Open
https://<console-host>:15483. - The setup wizard displays the Console ID on the activation step.
- Copy the ID.
- Return to the self-hosted deployment in Portal.
- Register the Console ID, then issue and download the signed license bundle.
Do not issue a license for a different Console ID. License bundles are deployment-bound.
4. Complete the setup wizard
Activate Console
Upload the license .json file or paste its contents. Validation is local and does not require the Console to contact Portal.
Connect storage
Enter and test:
| Field | Format | Required |
|---|---|---|
| PostgreSQL | postgres://user:password@host:5432/database | Yes |
| ClickHouse URL | http://host:8123 or HTTPS equivalent | Yes |
| ClickHouse database | Usually telovix_console | Yes |
| ClickHouse user and password | Credentials for the selected database | As configured |
| Redpanda broker | host:9092 | No |
The wizard must successfully connect before continuing. It initializes the required database schemas after validation.
Choose the platform
- Standard enables Linux, container, Kubernetes, API, TLS, detection, investigation, and response workflows.
- Telecom includes Standard and adds 5G and O-RAN workflows.
You can deploy a mixed fleet of Standard and Telecom Sensors from a Telecom Console.
Create the administrator
Enter the first Admin email, display name, and password. The password must satisfy every requirement shown by the wizard. Additional users, SSO, and MFA are configured after sign-in.
When this step succeeds, the Console redirects to the application and begins normal operation.
TLS and stable addressing
The Console generates local trust material automatically on first start. The Sensor deployment command handles trust bootstrap for self-hosted endpoints.
Before production enrollment, choose a stable DNS name and ensure it resolves from every Sensor node. If your organization requires a private or public PKI, configure the approved certificate and service environment before broad rollout. Avoid changing the Console hostname after Sensors are enrolled.
Verify installation
From the Console host:
curl -kfsS https://127.0.0.1:15483/healthz
curl -kfsS https://127.0.0.1:15483/readyz
Then verify in the browser:
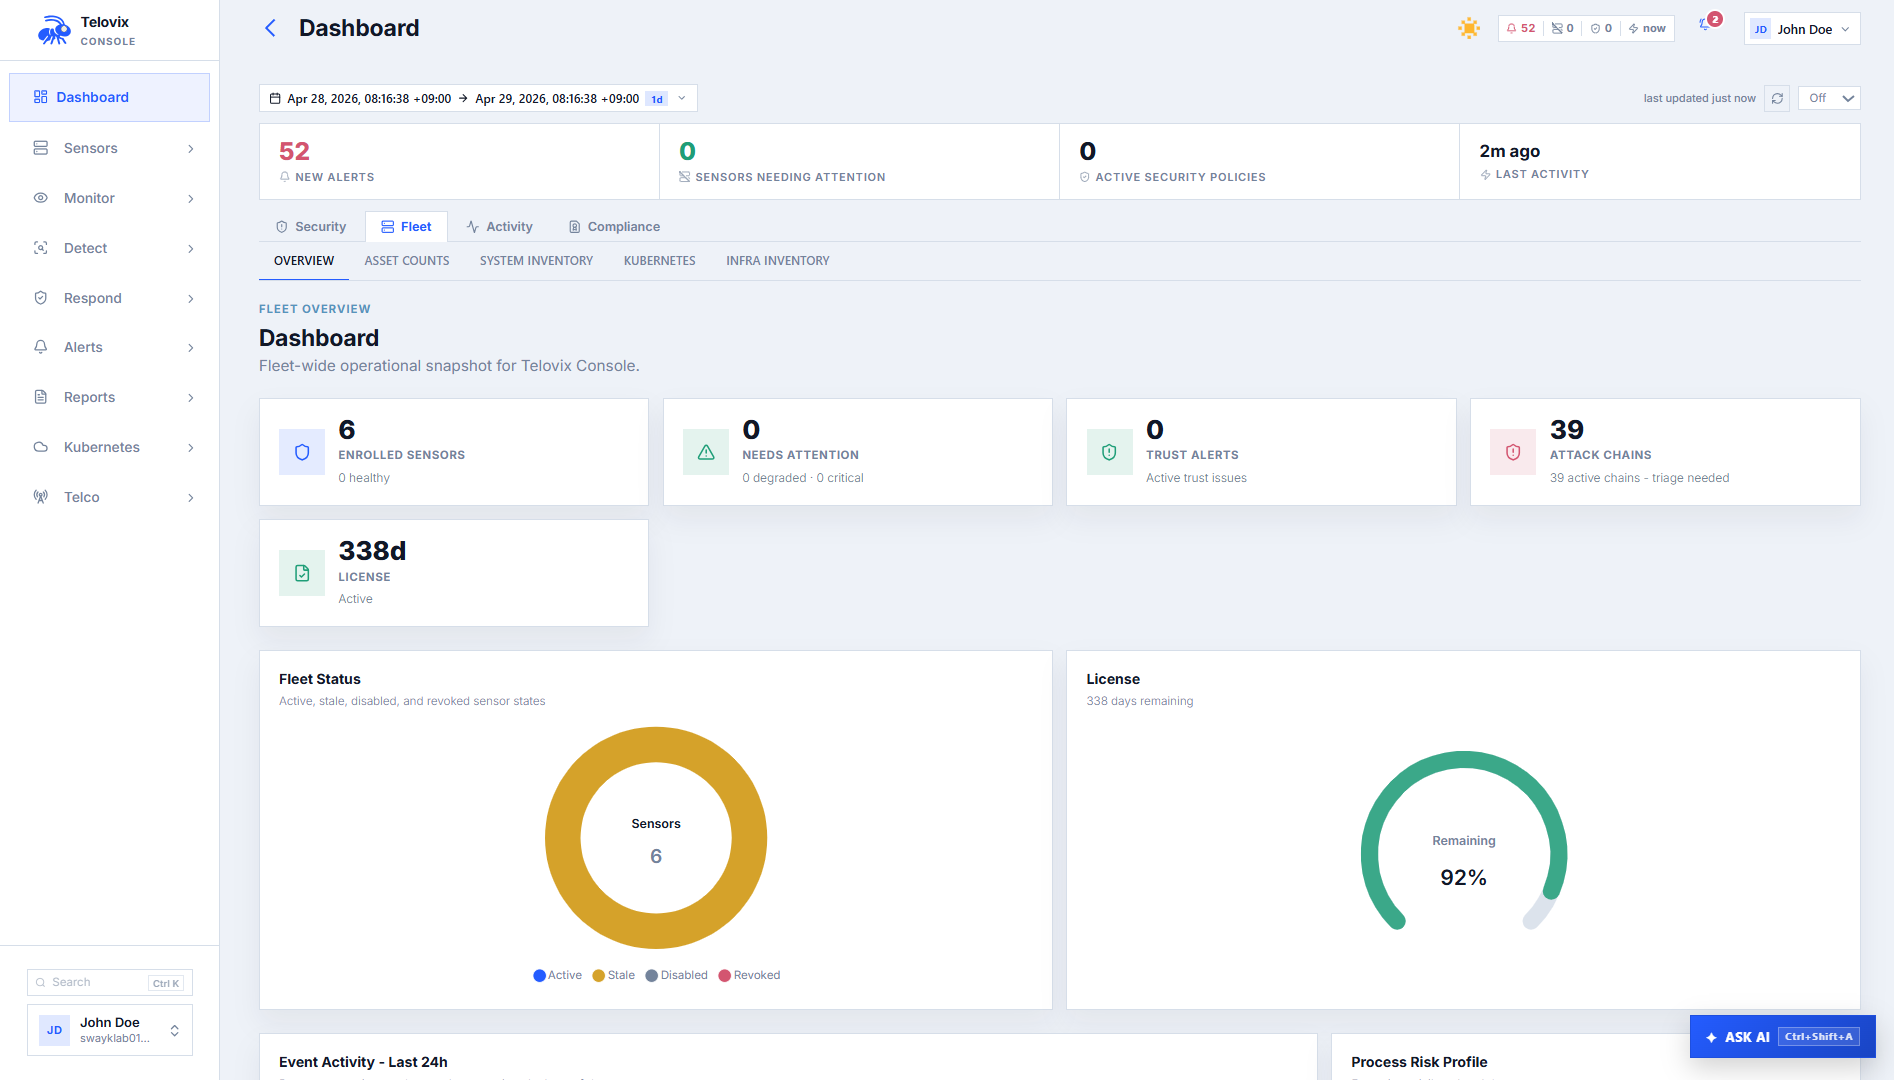
- the dashboard opens after sign-in;
- the correct license plan is shown;
- Sensors > Deploy opens;
- no storage or setup warning is present.
healthz confirms the process is listening. readyz confirms setup is complete and required services are available.
Operate the Console safely
- Back up PostgreSQL and the
telovix-datadirectory. - Apply an appropriate ClickHouse backup policy.
- Monitor disk growth and keep at least 20% of ClickHouse storage free.
- Keep the Console behind a stable DNS name and trusted browser endpoint.
- Test Console and Sensor updates in a canary environment first.
- Do not run two independent Console processes against the same local data directory.
Troubleshooting
| Symptom | Check |
|---|---|
| Browser cannot connect | Confirm the process is running and port 15483 is allowed. |
| Wizard appears after every restart | Confirm the service starts in the same working directory and retains telovix-data. |
| License is rejected | Confirm Portal issued it for the Console ID displayed by this instance. |
| PostgreSQL test fails | Check URL encoding, credentials, database existence, DNS, and firewall access. |
| ClickHouse test fails | Check the HTTP endpoint, database, credentials, free disk, and server health. |
healthz passes but readyz fails | Complete setup and restore access to the required data services. |
| Sensor command uses the wrong address | Configure and use the stable Console address before enrolling production nodes. |