RBAC and User Management
The Telovix Console uses a role-based access control system with five roles ordered by tier. Role checks are enforced server-side on every request using minimum-role middleware. Assigning the lowest sufficient role to each team member limits blast radius if an account is compromised and keeps the audit trail clean by preventing high-privilege actions from accounts that should not take them.
Prerequisites
- Console setup complete with at least one admin account
adminrole to create users or change roles
Role tiers
| Role | Tier | String value | What it controls |
|---|---|---|---|
viewer | 1 | viewer | Read-only access to dashboards, fleet state, compliance posture, and reports |
analyst | 2 | analyst | All viewer access plus alert triage, investigations, event queries, and anomaly review |
sensor_owner | 3 | sensor_owner | All analyst access plus management of sensors within assigned node groups only |
operator | 3 | operator | All analyst access plus pack assignment, enforcement changes, containment, and exercise creation |
admin | 4 | admin | Full access including user management, SSO configuration, license import, and global settings |
The tier ordering is Admin(4) > Operator(3) = SensorOwner(3) > Analyst(2) > Viewer(1). Access checks use a minimum-tier comparison: a route requiring operator accepts any role at tier 3 or above.
sensor_owner and operator share tier 3 but differ in scope. An operator can act on any sensor in the fleet. A sensor_owner can only act on sensors in the node groups assigned to their account. Scope enforcement is applied separately from tier enforcement.
Creating the first admin user
The first admin account is created during the Console setup wizard. This bootstrap step can only run once. The bootstrap account receives the admin role automatically.
After bootstrap, all other accounts are created by invitation or by an admin directly.
Managing users
Inviting a user
Requires admin role.
In the Console, navigate to Settings > Users and click Invite User. Enter the email address and select a role from the dropdown. Click Send Invitation. The Console sends an invitation email to the specified address. The invitation contains a time-limited token. When the recipient accepts, their account is created with the assigned role. Role must be one of: admin, operator, sensor_owner, analyst, viewer.
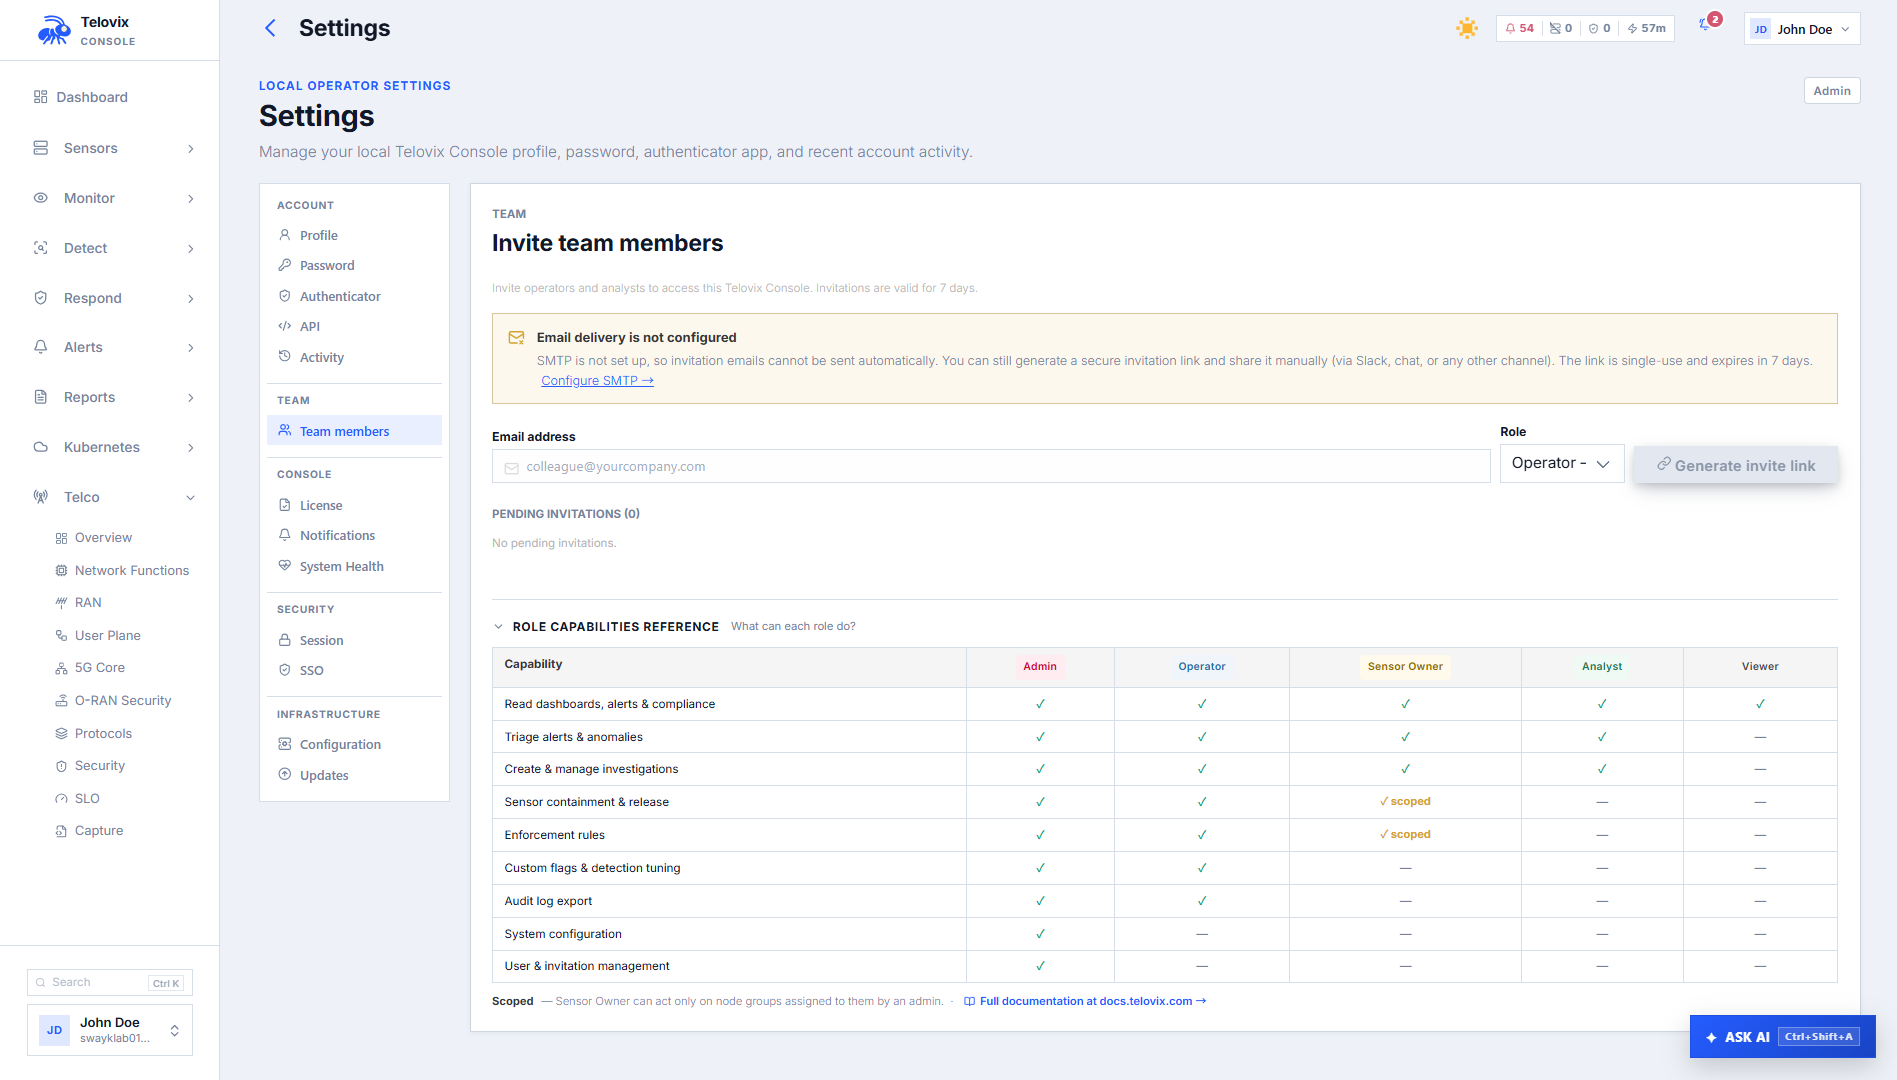
Listing users
In the Console, navigate to Settings > Users. The page lists all Console users with their email, display name, role, and status.
Changing a user's role
Requires admin role. The bootstrap admin's role cannot be changed.
In the Console, navigate to Settings > Users, click the row for the user you want to change, and select a new role from the Role dropdown. Click Save.
Disabling and enabling a user
Requires admin role.
In the Console, navigate to Settings > Users, click the row for the user, and click Disable User or Enable User as appropriate. Disabling a user invalidates active sessions and prevents new logins without deleting the account or its audit history.
Listing and revoking invitations
In the Console, navigate to Settings > Users and select the Pending Invitations tab. Pending invitations are listed with their email, role, and expiry time. To revoke a pending invitation, click the trash icon next to the invitation.
Sensor scope for sensor_owner
The sensor_owner role restricts a user to sensors in specific node groups. Scope assignment requires admin role.
In the Console, navigate to Settings > Users and expand the user with the sensor_owner role. The group scope section shows assigned groups inline. Click Add Group and select from the available sensor groups. To remove a scope, click the remove icon next to the group name.
📸 Screenshot: settings-user-group-scope Settings > Users page showing a user row expanded with the group scope section - assigned groups listed with remove icons and the Add Group button.
A sensor_owner with no group scope assigned can see no sensors. A sensor_owner with multiple group scope assignments can see and manage sensors in all assigned groups.
Cluster scope for Kubernetes deployments is managed from the same user detail page under the Cluster Scope tab. Changes to cluster scope are recorded in the audit log as console_user_cluster_scope_updated.
Session management
Listing active sessions
In the Console, navigate to Settings > Account > Active Sessions. This page lists all active sessions for the signed-in user, showing device, browser, IP address, and last active time.
Revoking a session
On the Settings > Account > Active Sessions page, click Revoke next to any session you want to terminate. The session is invalidated immediately. Use this to terminate stale or suspicious sessions.
MFA (TOTP)
Users can enable TOTP-based MFA on their accounts.
In the Console, navigate to Settings > Account > Security and click Enable Two-Factor Authentication. Scan the QR code with your authenticator app, then enter the first code to confirm enrollment.
To disable MFA, navigate to the same page and click Disable Two-Factor Authentication. You must provide your current password and a valid TOTP code to confirm.
MFA enable and disable events are recorded in the audit log as mfa_enabled and mfa_disabled.
SSO (SAML 2.0 and OIDC)
The Console supports SAML 2.0 and OpenID Connect (OIDC) for single sign-on. SSO configuration requires admin role.
In the Console, navigate to Settings > SSO. From this page you can view the current SSO configuration, configure a new provider (SAML 2.0 or OIDC), and remove an existing configuration.
📸 Screenshot: settings-sso Settings > SSO page showing the provider selector (SAML / OIDC), configuration fields, and test connection button.
New users created via SSO receive the viewer role by default unless you configure role mapping in the SSO settings. The Console records SSO user creation in the audit log as sso_user_created.
The SSO encryption key is derived at Console startup from the Console instance ID via HMAC-SHA256. Changing the Console ID invalidates all SSO sessions.
API keys
API keys provide programmatic access without using a session cookie. They are created by authenticated users and scoped to specific operations.
In the Console, navigate to Settings > Account > API Keys. This page lists all API keys for the signed-in user. Click Create API Key, enter a name, and select the desired scopes. Copy the key value immediately after creation - it is shown only once and cannot be retrieved later.
To revoke an API key, click the trash icon next to it on the API Keys page.
API key creation and revocation are recorded in the audit log.
What each role can do: practical reference
| Action | viewer | analyst | sensor_owner | operator | admin |
|---|---|---|---|---|---|
| View fleet, events, dashboards | Yes | Yes | Yes (scoped) | Yes | Yes |
| Triage and investigate alerts | No | Yes | Yes (scoped) | Yes | Yes |
| Query runtime events | No | Yes | Yes (scoped) | Yes | Yes |
| Assign policy packs | No | No | No | Yes | Yes |
| Change enforcement state | No | No | No | Yes | Yes |
| Create / run threat exercises | No | No | No | Yes | Yes |
| Contain / release sensors | No | No | No | Yes | Yes |
| Create / delete enrollment tokens | No | No | No | Yes | Yes |
| Manage sensor groups | No | No | No | Yes | Yes |
| Import license bundle | No | No | No | No | Yes |
| Create / disable / role-change users | No | No | No | No | Yes |
| Configure SSO | No | No | No | No | Yes |
| Manage API keys (own) | No | No | No | Yes | Yes |
Audit coverage for user management
All user management actions are recorded in the audit log. Key action types:
console_user_created,invitation_created,invitation_acceptedconsole_user_role_updated,console_user_disabled,console_user_enabledconsole_user_group_scope_assigned,console_user_group_scope_removedlogin,logout,password_change,mfa_enabled,mfa_disabledsso_login,sso_login_failed,sso_user_created,sso_config_updated
Export user management audit activity by navigating to Audit Log in the Console, filtering by Action Family = user_management, and clicking Export. Select CSV format for spreadsheet-compatible output.
Operational guidance
Keep admin accounts to a minimum: The admin role can change other users' roles, import licenses, configure SSO, and globally modify all sensor settings. Limit it to the people who genuinely need all of that. Use operator for day-to-day fleet management.
Use sensor_owner for field teams: Teams responsible for specific sites or clusters can be given sensor_owner scope limited to their node groups. This gives them operational capability without fleet-wide visibility.
Disable rather than delete: Disabling a user preserves their audit history and allows re-enablement. If you delete a user record, their audit entries lose actor association. Use disable for departing users unless permanent removal is a compliance requirement.
SSO group-to-role mapping: If your identity provider supports group claims, configure role mapping in the SSO settings so users receive the correct role automatically at first login rather than defaulting to viewer and requiring manual assignment.