Appearance
Console Installation
::: note Telovix Cloud If you are using Telovix Cloud, Telovix provisions and operates the Console for you. You do not follow this guide. After requesting provisioning from the Portal, you receive a Console URL and log in directly. See the Quick Start for the Telovix Cloud path.
Telovix self-hosted only. :::
The Telovix Console is a single Rust binary that serves the operator web UI, the sensor mTLS endpoint, and all background tasks. In Telovix self-hosted deployments, you install and manage it alongside PostgreSQL and ClickHouse.
Prerequisites
| Requirement | Minimum | Notes |
|---|---|---|
| Operating system | Linux (any modern systemd-based distro) | x86_64 or aarch64 |
| CPU | 2 cores | 4+ recommended for production |
| RAM | 2 GB | 4+ recommended for production |
| PostgreSQL | 15 or later | Must be reachable from the Console host |
| ClickHouse | 24.8 or later | Must be reachable from the Console host |
| Console binary | Downloaded from the Portal | See Download the binary |
| License bundle | Signed .json from the Portal | Required to complete first-run setup |
| TLS trust material | Server cert + CA for sensor mTLS | See TLS setup |
Download the binary
Download the Console binary and your signed license bundle from the Telovix Portal:
- Log in to the Portal.
- Go to Deployments and create or select your Telovix self-hosted deployment.
- Click Issue License to generate a signed license bundle. Download the
.jsonfile. - Go to Downloads and download the Console binary (
telovix-console-api) for your architecture (amd64orarm64).
The binary is statically linked and has no external runtime dependencies.
Filesystem layout
The standard installer uses this directory layout:
/etc/telovix/console/
  config/                     # Console configuration (written by setup wizard)
  trust/
    sensor-ca.cert.pem       # Sensor trust root CA certificate
    sensor-ca.key.pem        # Sensor trust root CA signing key (mode 600)
    console-sensor.cert.pem  # Console sensor listener TLS certificate
    console-sensor.key.pem   # Console sensor listener TLS private key (mode 600)

/opt/telovix/console/
  bin/
    telovix-console-api      # Console binary (mode 755, root:root)
  policy-packs/              # Policy pack catalog root
  sensor-binaries/           # Sensor binaries for deployment
    amd64/
      telovix-sensor         # Standard flavor, x86-64
      telovix-sensor-telecom # Telecom flavor, x86-64
    arm64/
      telovix-sensor         # Standard flavor, ARM64
      telovix-sensor-telecom # Telecom flavor, ARM64
  web/
    dist/                    # Built Vue SPA static files

/var/lib/telovix/console/    # Writable data root for the service user

/usr/lib/systemd/system/
  telovix-console-api.service
Installation steps
1. Create a service account
bash
sudo groupadd --system telovix-console
sudo useradd --system --gid telovix-console --no-create-home \
  --shell /usr/sbin/nologin telovix-console
If groupadd exits with already exists, the account from a previous install is still present; the subsequent useradd command is safe to run and will exit cleanly.
2. Create directories
bash
sudo install -d -o root -g root -m 755 \
  /opt/telovix/console/bin \
  /opt/telovix/console/policy-packs \
  /opt/telovix/console/web/dist

sudo install -d -o root -g root -m 755 \
  /opt/telovix/console/sensor-binaries/amd64 \
  /opt/telovix/console/sensor-binaries/arm64

sudo install -d -o telovix-console -g telovix-console -m 750 \
  /var/lib/telovix/console \
  /var/log/telovix/console

sudo install -d -o root -g root -m 755 \
  /etc/telovix/console/trust
If any install -d command fails with a permission error, the most common cause is running without sudo or a prior installation that left conflicting ownership on a parent directory.
3. Install the binary
bash
sudo install -o root -g root -m 755 \
  telovix-console-api \
  /opt/telovix/console/bin/telovix-console-api
If this command fails with No such file or directory, the most common cause is running the command from the wrong directory; confirm telovix-console-api is in your current working directory with ls -lh telovix-console-api before running the install.
4. TLS setup
The Console needs three TLS assets before it can start:
- A server TLS certificate and key for the sensor mTLS listener
- A CA certificate and signing key for issuing sensor client certificates
Option A: Auto-generate (recommended for initial setup)
The Console can auto-generate a self-signed CA and server certificate on first run if the paths are configured but the files do not yet exist. Set the paths in the environment file (see Environment file) and the Console creates them at startup. When using a self-signed CA, sensors must receive the Console CA certificate during enrollment. The install script does this automatically by downloading it from the Console trust bootstrap endpoint.
Option B: Bring your own CA
If you have an internal PKI, place your files at the configured paths before starting the service. The Console uses the issuer cert and key to sign sensor client certificates at enrollment. Restrict read and write access to the telovix-console service user only.
bash
# Set strict permissions on all private keys
sudo chmod 600 /etc/telovix/console/trust/*.key.pem
sudo chown telovix-console:telovix-console /etc/telovix/console/trust/*.key.pem
If chmod or chown exits with No such file or directory on the glob, the most common cause is choosing Option B but not yet placing the key files at the trust path; place the files before setting permissions.
5. Pre-run permissions
Create the working directory where the Console will write its configuration after the setup wizard completes:
bash
sudo mkdir -p /opt/telovix/console
sudo chown telovix-console:telovix-console /opt/telovix/console
sudo chmod 750 /opt/telovix/console
If chown reports the user does not exist, the most common cause is Step 1 not having been run; create the service account first before setting directory ownership.
No manual configuration file is needed before first startup. The setup wizard collects all settings (database URLs, vertical, TLS paths) and writes them to the working directory on completion.
6. Register and start the systemd unit
Copy the provided unit file:
bash
sudo install -o root -g root -m 644 \
  telovix-console-api.service \
  /usr/lib/systemd/system/telovix-console-api.service

sudo systemctl daemon-reload
sudo systemctl enable --now telovix-console-api
If systemctl enable --now fails immediately, the most common cause is the unit file not having been copied to the correct path before daemon-reload; confirm the file exists at /usr/lib/systemd/system/telovix-console-api.service and re-run both commands.
The unit file uses the following security hardening:
ini
ProtectSystem=strict
ProtectHome=true
ReadWritePaths=/var/lib/telovix/console
PrivateTmp=true
NoNewPrivileges=true
These restrictions are intentional. The Console process writes only to /var/lib/telovix/console and reads configuration and TLS assets from /etc/telovix/console. It does not need write access elsewhere.
Verify the service started:
bash
systemctl status telovix-console-apiExpected output:
telovix-console-api.service - Telovix Console
     Loaded: loaded (/usr/lib/systemd/system/telovix-console-api.service; enabled)
     Active: active (running) since ...
If the service is not active, check the logs:
bash
sudo journalctl -u telovix-console-api -n 50 --no-pagerVerify the port is listening:
bash
curl -sf http://127.0.0.1:15483/healthz && echo "OK"Expected: OK. If this command returns an error or nothing, the most common cause is a PostgreSQL or ClickHouse connection failure preventing startup; check journalctl -u telovix-console-api -n 50 --no-pager for the specific database error.
The Console starts in first-run mode if no configuration exists in the working directory. In first-run mode it serves only the setup wizard on port 15483 (Telovix self-hosted default).
Platform vertical
The platform vertical selects which feature set is active. It is set during the setup wizard and can be changed at any time from Settings > General without a database migration.
| Value | What it enables |
|---|---|
standard | Core eBPF security: fleet management, alerts, anomaly detection, behavioral baselines, compliance (CIS v8, NIS2), Kubernetes visibility, investigations, enforcement, and the AI assistant. The Telco navigation section is hidden. |
telecom | Everything in standard, plus: 5G/O-RAN NF monitoring (AMF, SMF, UPF, gNB-DU, gNB-CU role detection), NGAP KPI tracking, NF resource history, O-RAN WG11 threat detection, telecom compliance frameworks (CIS Telecom, NIS2 Telecom, 3GPP TS 33.117, O-RAN WG11), and telecom-specific AI assistant tools. |
The vertical must match the sensor flavor deployed on your nodes. A telecom Console with standard sensors receives no telecom protocol data. A standard Console with telecom sensors stores the extra heartbeat fields but does not surface them in the UI.
First-run setup wizard
After the service starts, open the Console URL in a browser. The wizard runs automatically on first startup.
Step 1: Import the license
Upload the signed license bundle (.json) downloaded from the Portal. The Console validates the Ed25519 signature offline.
Step 2: Configure storage
Enter the PostgreSQL URL, ClickHouse URL, and optionally a Redpanda broker address (Scale tier only, recommended for fleets above 1,500 nodes). The wizard tests each connection before you can continue. When setup is finalized after the admin account is created, the Console applies PostgreSQL migrations and the ClickHouse analytics schema.
Step 3: Create the first admin account
Enter an email address, a display name, and a password (minimum 12 characters, must include uppercase, lowercase, number, and symbol). This is the only account at this point. Additional users and team members are managed from Settings after login.
After the admin account is created, the wizard saves the configuration and starts background tasks. The Console redirects you to the login page.
Verify setup completed successfully:
bash
curl -sf http://127.0.0.1:15483/readyz && echo "Ready"Expected: Ready. The /readyz endpoint returns 200 only after setup is complete and PostgreSQL is reachable. If this returns 503, the most common cause is the setup wizard not having been completed or PostgreSQL being unreachable from the Console host; verify with pg_isready -h <pg-host> before retrying.
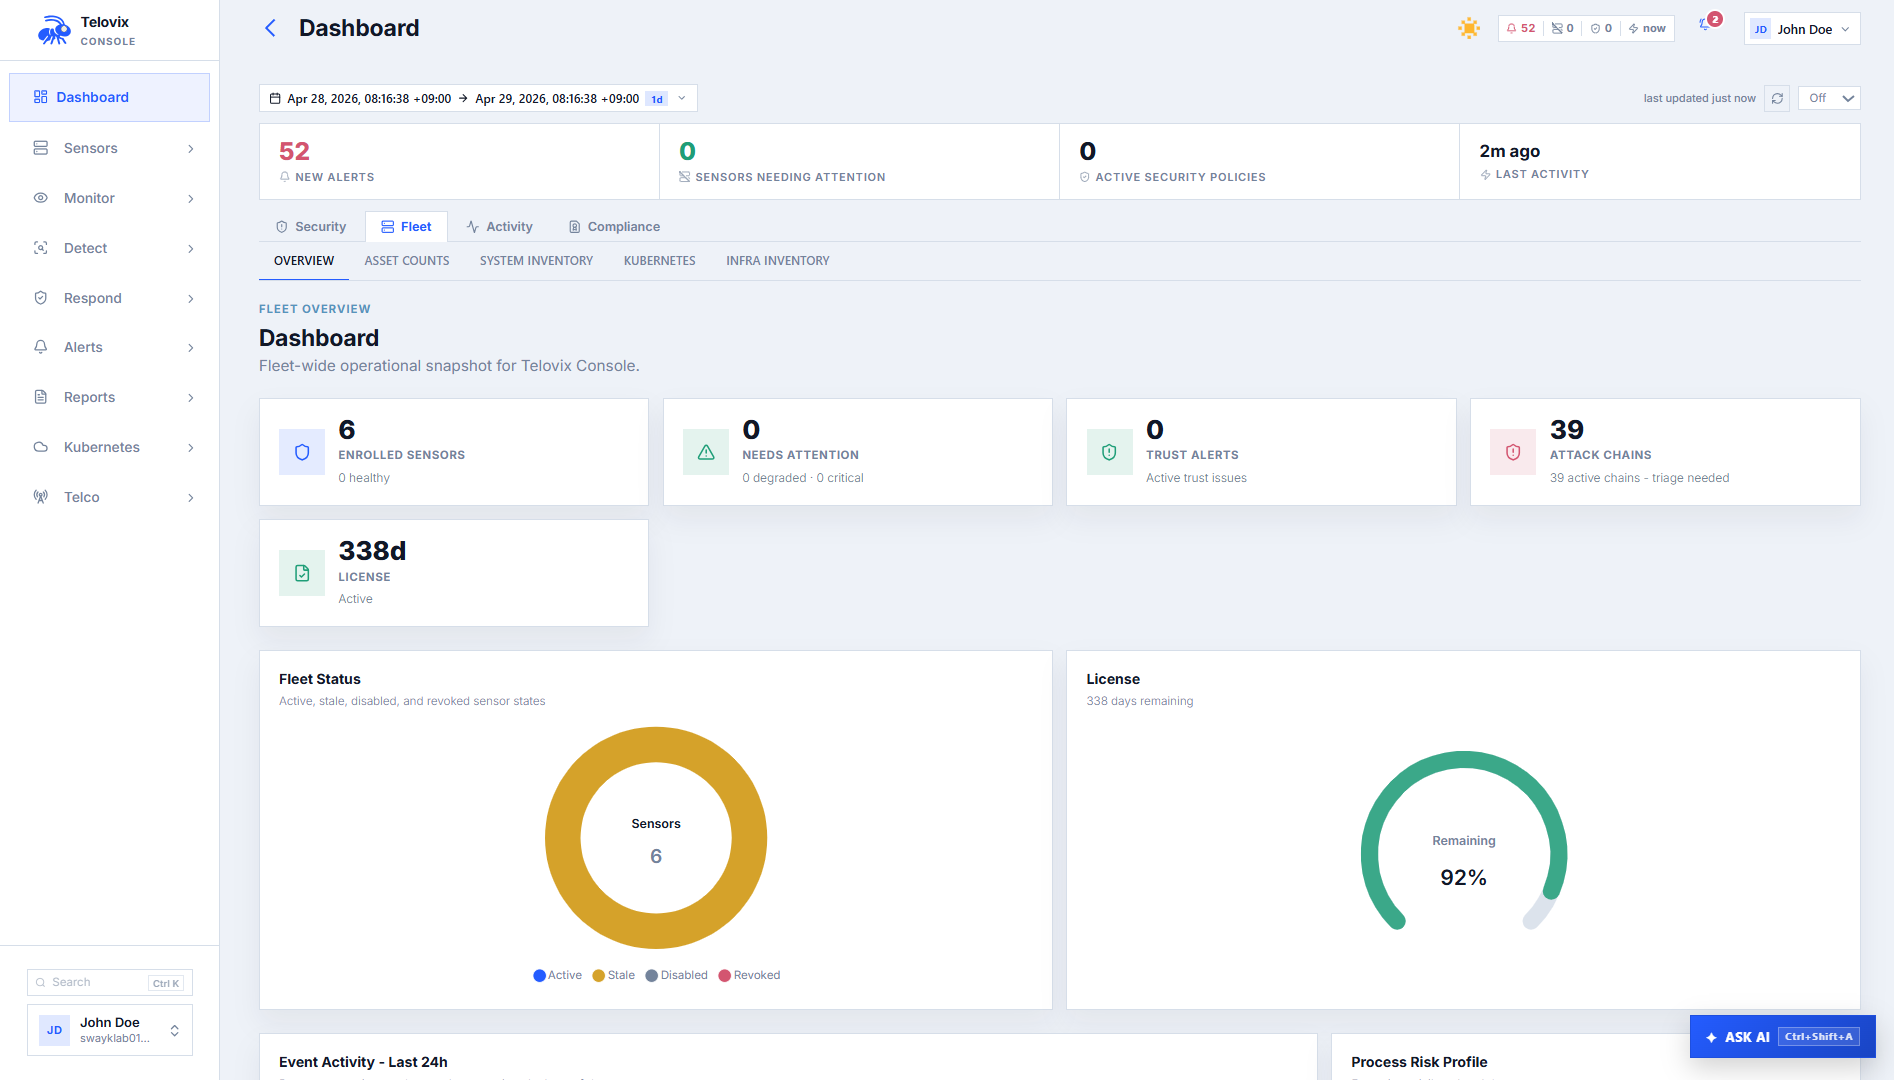
Log in to the Console at https://<console-host>:15483. You should land on the dashboard, not the setup wizard. The dashboard shows:
- Fleet count:
0 sensors(no sensors enrolled yet) - License: displays your plan and node limit
- Background tasks: running (no error banners)
Stage sensor binaries
The Console serves sensor binaries for deployment to enrolling sensors. You must stage the binaries before operators can use the Deploy Sensor wizard.
Expected layout under the sensor binaries path (default /opt/telovix/console/sensor-binaries):
amd64/
  telovix-sensor              # standard flavor, x86-64
  telovix-sensor-telecom      # telecom flavor, x86-64
arm64/
  telovix-sensor              # standard flavor, ARM64
  telovix-sensor-telecom      # telecom flavor, ARM64
Download the sensor binaries from the Portal Downloads page and place them at these paths. Permissions: 755, owner root:root.
You can also upload sensor binaries through the Console after initial setup. Navigate to Settings > Sensor Binaries, click Upload Binary, select the architecture and flavor, and select the binary file.
Verifying the installation
bash
# Service health
systemctl status telovix-console-api

# Health endpoints
curl -sf http://127.0.0.1:15483/healthz && echo "Healthy"
curl -sf http://127.0.0.1:15483/readyz && echo "Ready"

# Recent logs
journalctl -u telovix-console-api -n 50 --no-pager
The /readyz endpoint checks PostgreSQL connectivity. If it returns a non-200 status, the Console cannot reach the database. /healthz is a lighter liveness check that always returns 200 if the process is running.
TLS for the operator browser
The Console API port (15483) handles both the operator browser and the sensor mTLS listener on the same port. The TLS certificate presented to browsers is the configured sensor TLS server certificate.
For production use, either:
- Put the Console behind a reverse proxy (nginx, Caddy, or an ingress controller) that terminates browser TLS on port
443and proxies to the Console on port15483, or - Use a certificate from a trusted CA for the sensor TLS server certificate so browsers trust it without adding a custom CA.
::: note If you use a self-signed or private CA for the sensor TLS listener, operators' browsers will show a certificate warning unless they import the CA. Sensor connections are unaffected because the sensor downloads the Console CA during enrollment. :::
Update the Console binary
The Console can update its own binary from the Settings UI without rebuilding a container image or replacing the binary manually.
- In the Console, go to Settings and click Check for updates.
- If a newer version is available, click Download and Stage. The new binary is downloaded from the Portal and staged at
/var/lib/telovix/console/telovix-console-update. - Click Apply Update to trigger a graceful restart.
- The
entrypoint.shwrapper applies the staged binary before the new process starts.
For this to work in systemd deployments, include the binary path in ReadWritePaths=/var/lib/telovix/console and confirm the binary is writable. The standard installer sets this up correctly.
Troubleshooting
Setup wizard appears on every restart
The Console saves its configuration to the working directory after the setup wizard completes. If the WorkingDirectory in the systemd unit does not point to /opt/telovix/console, the saved configuration cannot be found on the next start and the wizard runs again. Confirm that the unit file contains WorkingDirectory=/opt/telovix/console and that the setup wizard ran to completion before restarting.
/readyz returns 503
The Console cannot reach PostgreSQL. Verify the PostgreSQL connection string in the env file and test reachability with pg_isready from the Console host. A 503 at /readyz always means setup did not complete or the database connection is currently down.
/readyz passes but events not appearing
PostgreSQL is reachable but ClickHouse is not. Events are written to ClickHouse, so if ClickHouse is unreachable they will not appear in the Console UI. Test connectivity with curl -sf http://<ch-host>:8123/ping from the Console host.
Sensors cannot connect
The sensor mTLS listener cannot start or is rejecting connections because TLS certificate files are missing or at the wrong path. Verify the TLS file paths in the env file and confirm that the files exist and are readable by the telovix-console service user.
License import fails
The signed license bundle was issued for a different deployment. Each license is bound to a specific console ID. Re-issue the license from the Portal for this deployment's console ID, then import the new bundle.
Background tasks not running
Either the setup wizard did not complete, or background tasks have been explicitly disabled in the env file. Ensure the setup wizard finished successfully and check the env file for any explicit disablement flag.
Binary starts but port is not listening
A required configuration value is missing, causing the process to exit before binding to the port. Check journalctl -u telovix-console-api -n 100 for startup errors that identify what is missing.